PLANTING METHODS

Choosing What To Plant
Planting selected native plants is a part of active land restoration. It is intended to complement the community of volunteer plants that occur through passive restoration processes. There are many great resources online to help you choose the right plants for your area. Visit our Helpful Links page for some of our favorite sites.
For example, it increases biodiversity in a landscape lacking in certain seeds that may have been present in earlier history in the region. Wise selection requires studying plant lists and comparing plants to what you know about your environment.
Even a good selection may not grow successfully. Volunteer plants are usually healthier than those we plant, since the conditions were optimal for that particular plant to take root in that location. Fortunately, it is possible to deliberately introduce a plant into a location that is well suited for it. After it has survived several years, you can consider that it has become acclimated and permanent. Well done!
The Planting Process
You may use your own familiar gardening techniques. We invite you to also incorporate a few elements of our planting process that we have found particularly beneficial:
- Let potted plants sit in a planting spot for several days to become acclimated.
- Dig the hole with a shovel in a soft ground spot, which indicates humus is present.
- Allow a rainfall event to water into the hole. Overnight rain is best. Click HERE to learn why it is best to water overnight!
- At planting time, fill the hole with water from a rain barrel. Allow the water to completely drain out.
- After the hole drains, place two-to-three inches of mushroom compost (or horse manure compost) in the bottom of the hole. You may also add organic kelp as a starter nutrient, by sprinkling a coating inside the planting hole. (Read package instructions.)
- Gently place the plant in the ground, then add more compost and the original soil to fill in the hole.
- After planting, soak thoroughly using water from the rain barrel.
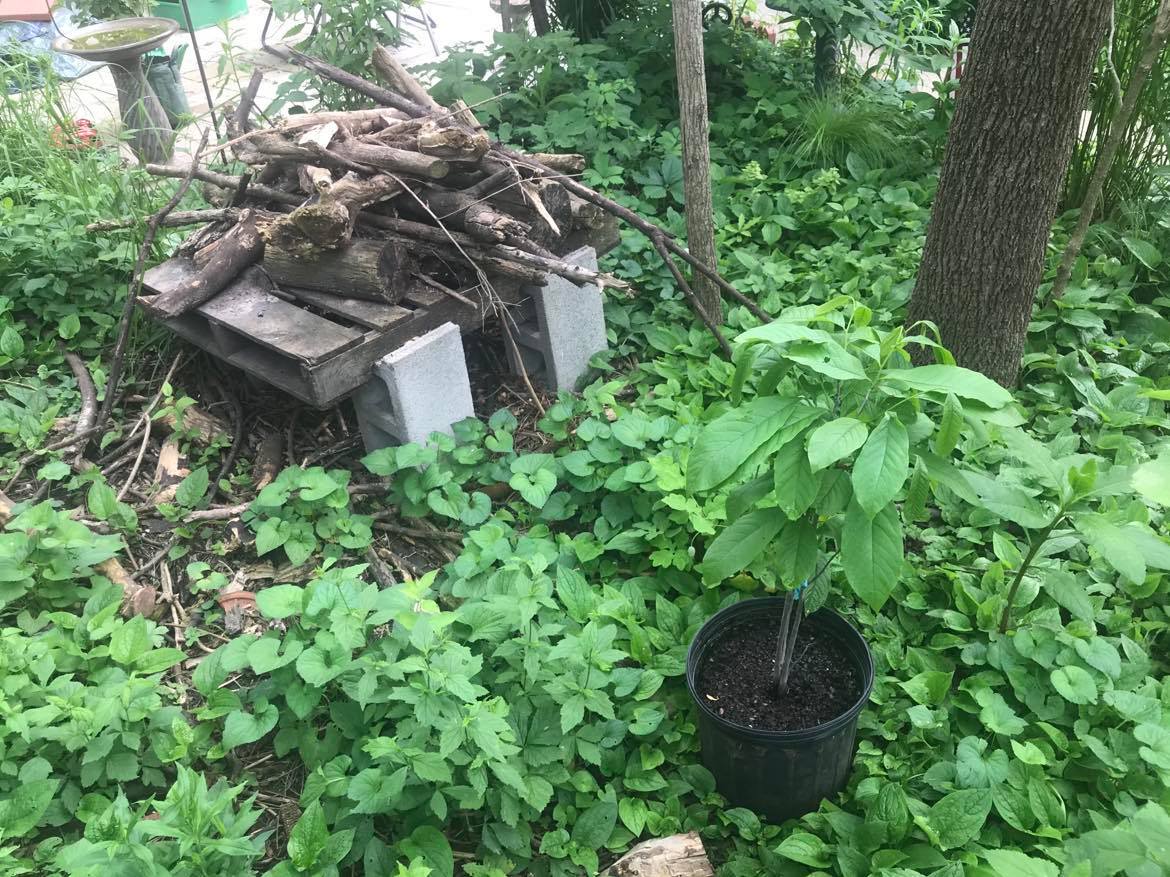
Acclimating a sapling near a raised woodpile.
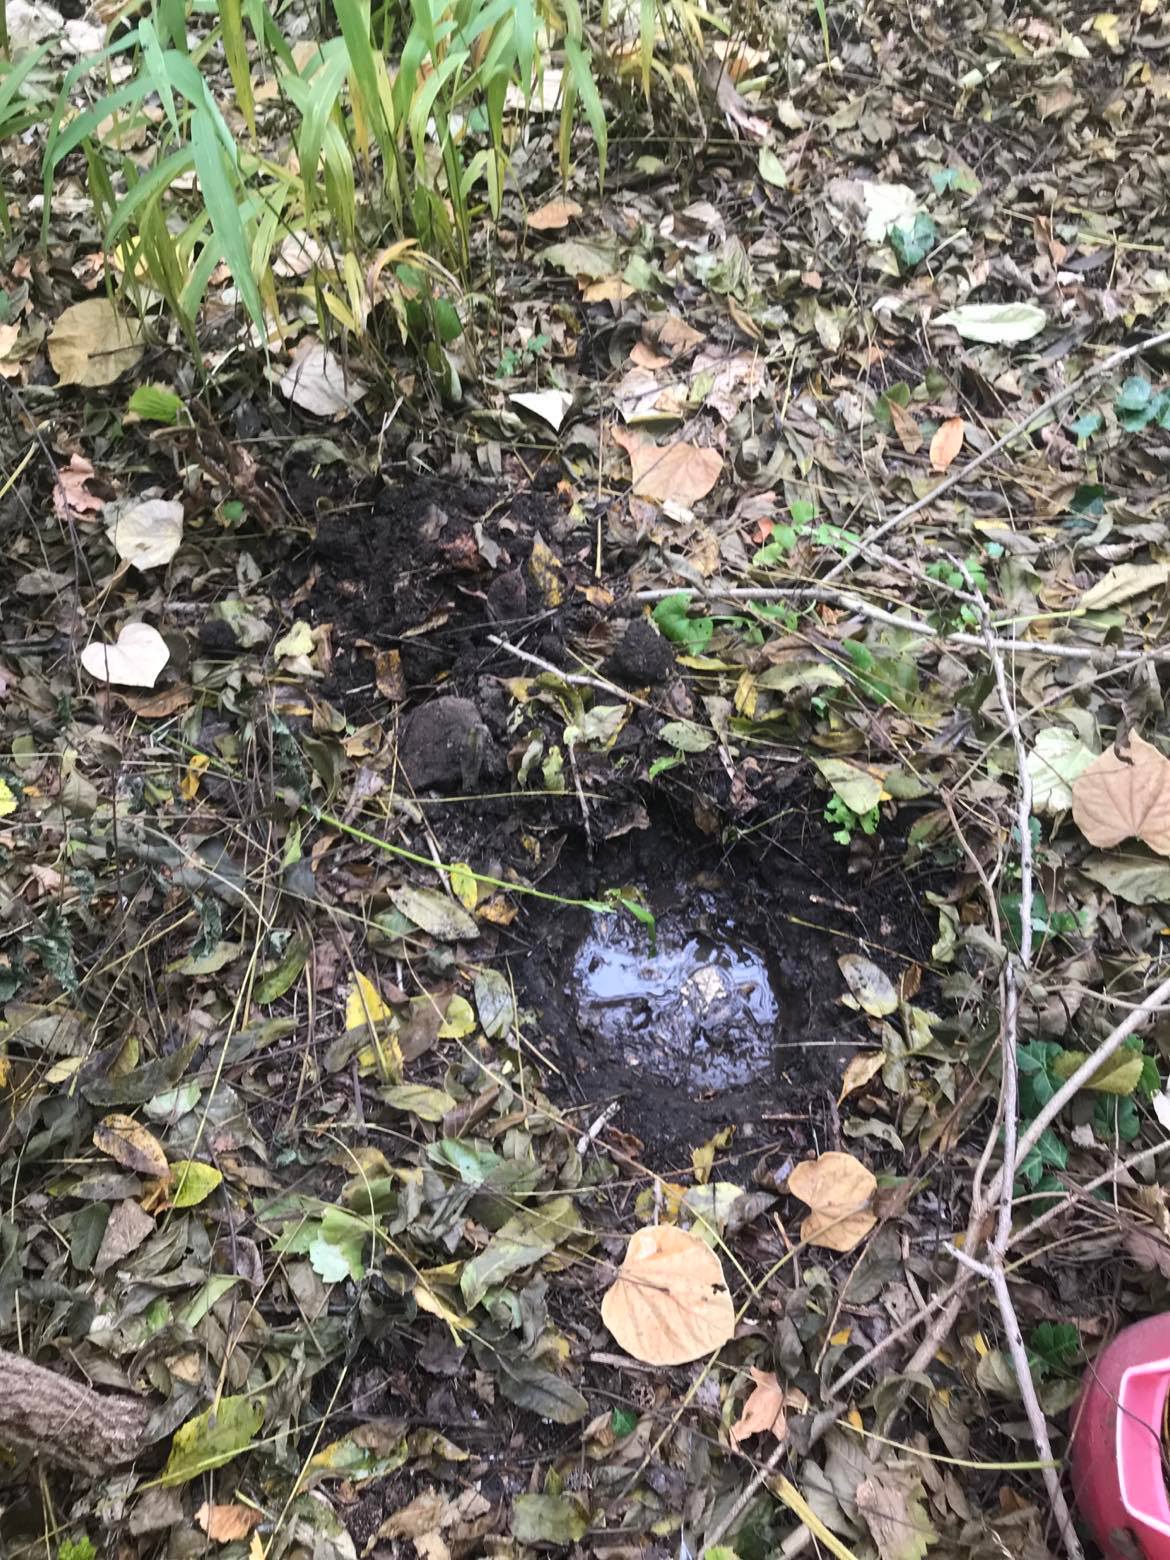
Freshly dug hole filled with water from our rain barrel.
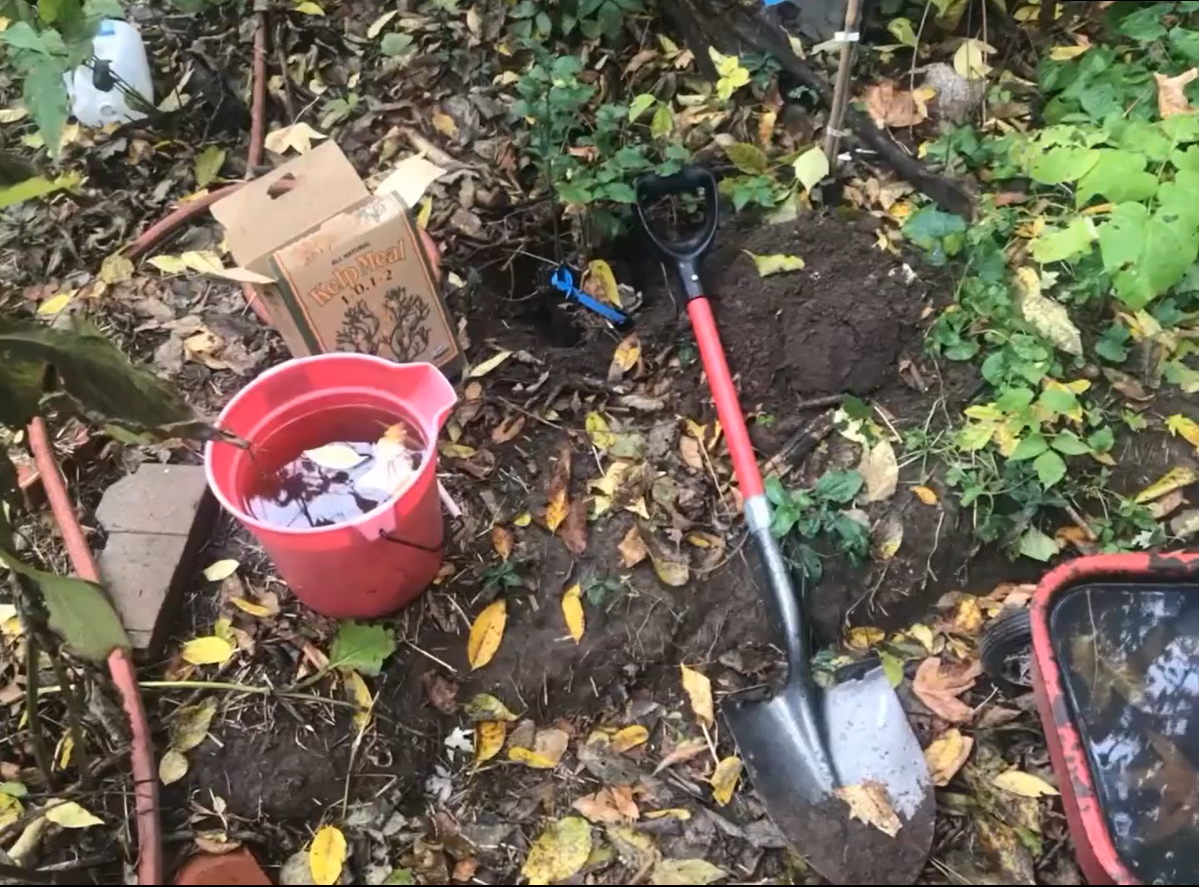
Planting a new sapling using kelp meal and rainwater.
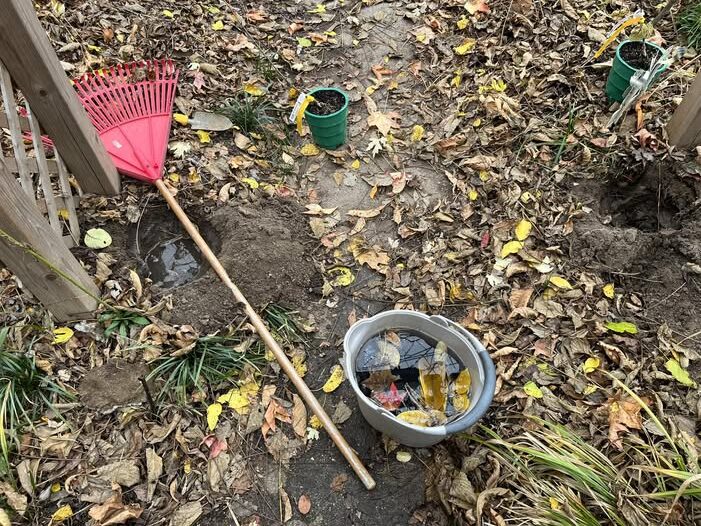
On November 6, filling holes with rainwater and letting them drain before planting
First Seven Steps to Restoration
Try this at home
Getting started on the road to reforesting your lawn can be intimidating. Here is a guide to give you the confidence you need to get started:
- Use an electric rototiller to break and till in the sod on at least ten percent, or up to half, of your grass lawn. Be sure to select an area located near a patio or window where you can observe it on a daily basis.
- Add organic materials such as compost, leaves and straw.
- Start a vegetable or herb garden, while you wait for succession to occur.
- Allow “weeds” to grow until they can be identified, and allow beneficial volunteer plants to grow for as long as they naturally sustain themselves.
- Gradually plant supplemental native plants that fit the stage of succession.
- Watch for trees to emerge, and allow them to grow. (It will probably take several years for this stage of woody growth succession to begin).
- Enjoy the earlier stages of succession while they last! It is a natural cycle basic to the earth. The human habit of blocking succession needs to be replaced with an ecological mindset.
Watering Guidelines
- After the initial watering immediately following planting, water on a daily basis for one to two weeks, depending on rainfall.
- Check water needs for at least one year.
- After that, if a plant is to be sustainable, it will survive on rainfall alone. Healthy soil holds moisture inside many small pores, and that will be sufficient for established plants and trees.